Three-section GRP scanner enclosure.
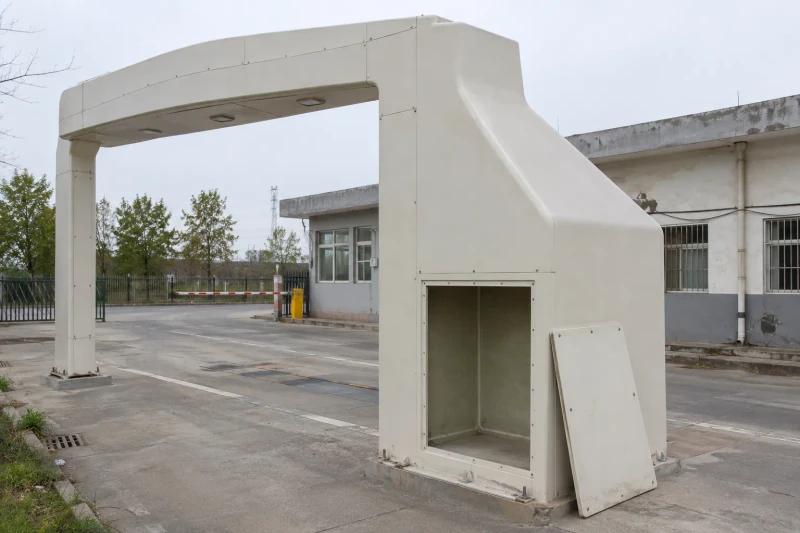
The enclosure has a main cabinet, upright and overhead cover, with equipment space, fixing points and service access defined in one component layout.
Tooling-located fixing points, section joints and removable service covers for a three-part GRP scanner enclosure.
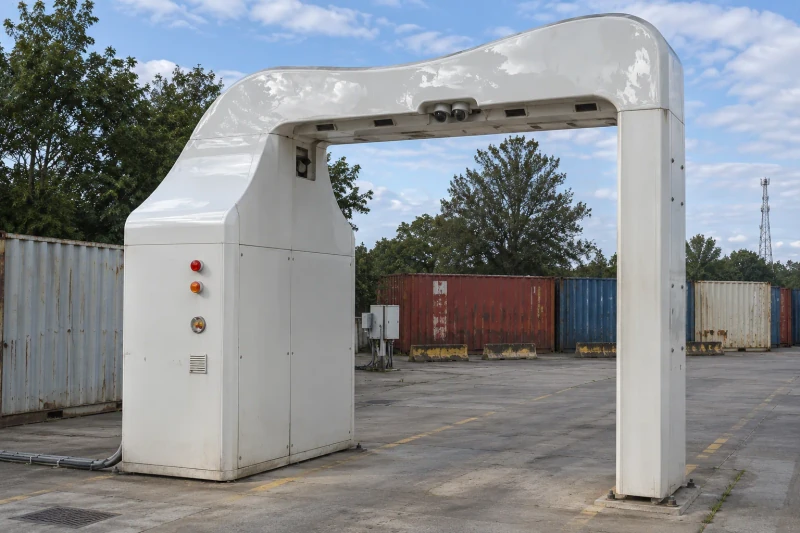
- Customer's equipment
- Vehicle-scanning system
- Parts supplied
- Three-section enclosure
- Key interfaces
- Fixings, joints and access
- Material
- Molded GRP
The challenge: make three sections work as one.
The enclosure needed to do more than look right as separate parts. Cabinet space, section joints and fixing positions all had to work in the same assembly.
The body had to follow the equipment.
The main cabinet needed more internal space than the opposite upright. Their different shapes still had to join into one continuous exterior.
Multiple fixing points had to line up.
A hole can be correct on one part and still miss its mating point. The shell sections needed shared locating references.
The closed body still needed service access.
Covers had to meet neatly without closing off the spaces technicians need to reach. The access layout belonged in the enclosure design from the start.
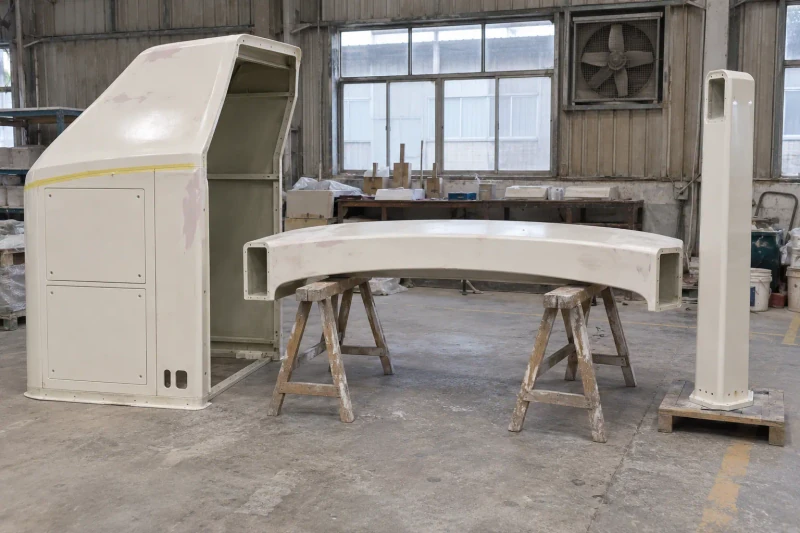
How we customize the enclosure.
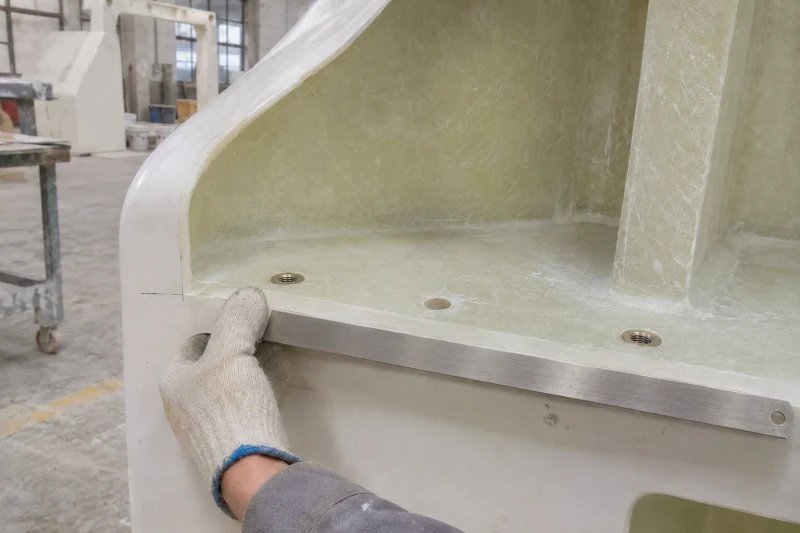
Locate the fixings in the mold.
Drill bushes built into the mold locate the specified fixing holes.
Check adjoining edges together.
The three sections are reviewed as a complete set. Joint alignment and fixing access are checked together rather than on isolated panels.
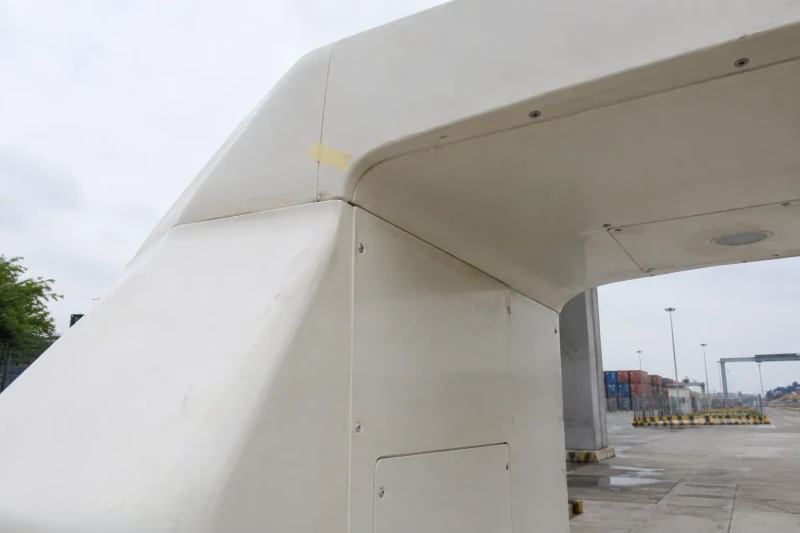
Build access into the body.
Removable cabinet covers follow the equipment's service layout. Openings and their fastening areas are developed alongside the surrounding shell.
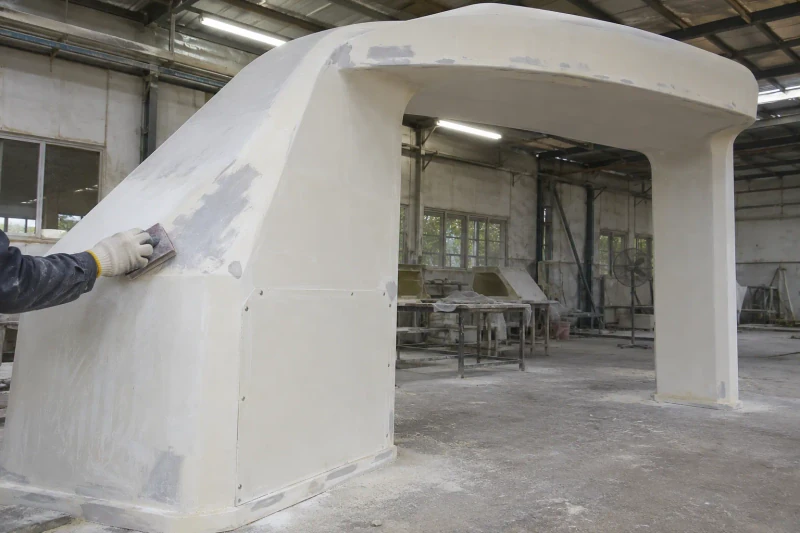
Shape the surface. Prepare the fitting edges.
Hand lay-up gives control around returns and local details; spray lay-up covers larger surfaces. We trim the edges and openings to the agreed references, then prepare the finish across the adjoining sections.
Fixing points and service access.
The three sections share fixing references, adjoining edges and planned service openings.

Tooling-located fixing points
The mold contains the fixing references and drill-bush positions.
Section joints
Section edges and fixing points follow the equipment layout.
Access kept in the design
Removable covers retain a route to the equipment behind the shell after the body is assembled.