An EV body design made ready for its first fit.
Bring your exterior model and chassis layout. We develop the full-size body, make the molds and supply fiberglass shells for prototype fitting and production.
Full-size forms turn the exterior design into molded body sections that can be checked with the chassis.
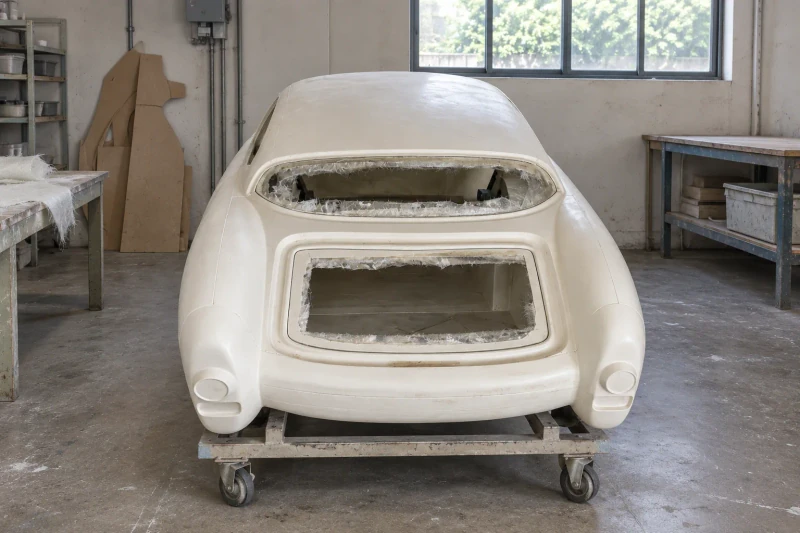
- We develop
- Body shape and molds
- We supply
- Shells and body panels
- You can order
- Samples or production batches
Carry the exterior shape into a physical assembly.
The vehicle team has an exterior design and a chassis layout. The next step is a physical body that brings the roof, wheel arches and door openings together without losing the intended shape.
An exterior model becoming a physical body
Roof, pillars and body contours have to retain the design’s proportions at full size.
Openings around adjoining parts
Door, glass and wheel positions must follow the chassis and equipment layout.
Assembly access inside the body
Panel divisions need to leave a practical way to reach and fit the components behind the exterior.
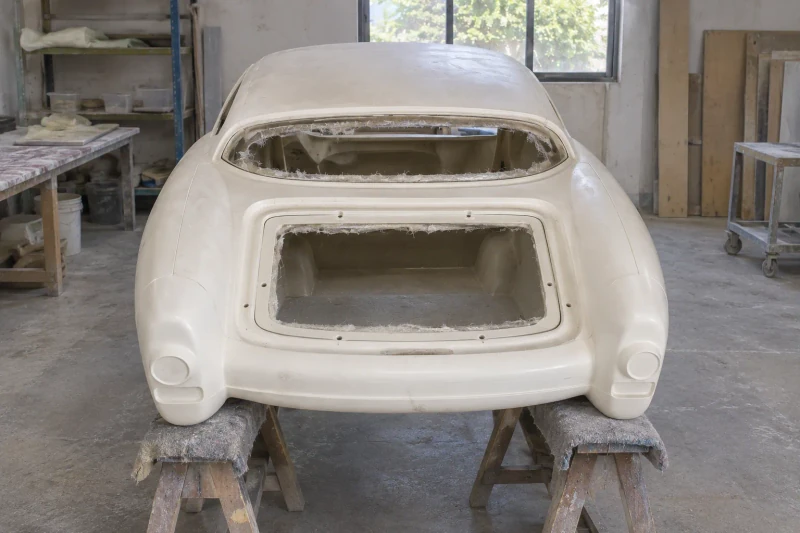
How we customize the parts.
Roof and body contours
The full-size form carries your exterior styling into the roof, pillars and side panels.
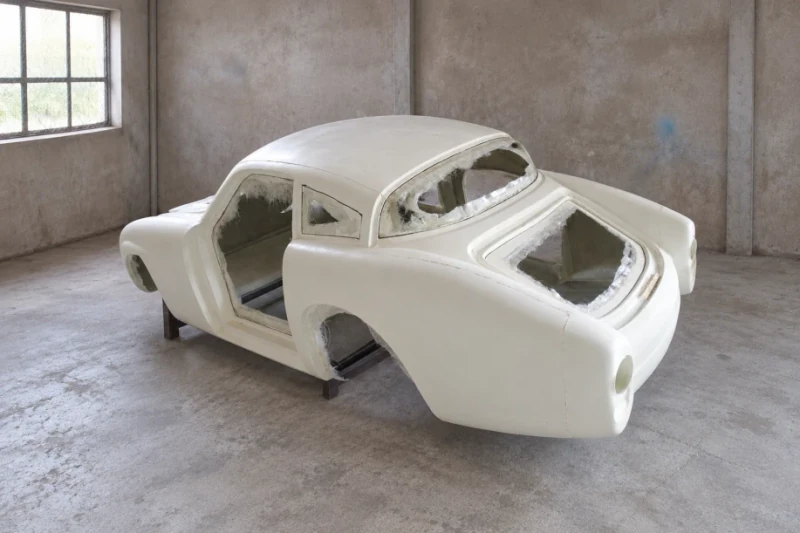
Doors, glass and wheels
Openings follow the adjoining parts, while wheel arches and lower edges follow the chassis layout.
Removable panels
Separate panels give access where a one-piece shell would make assembly or servicing difficult.
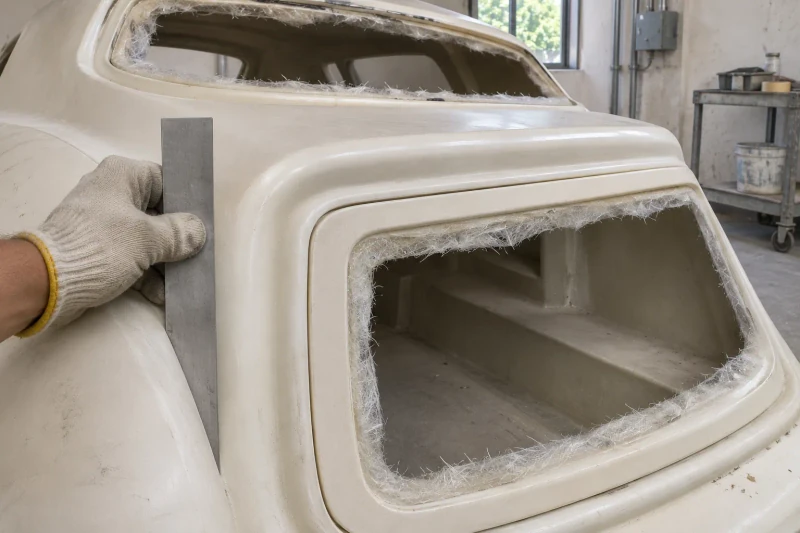
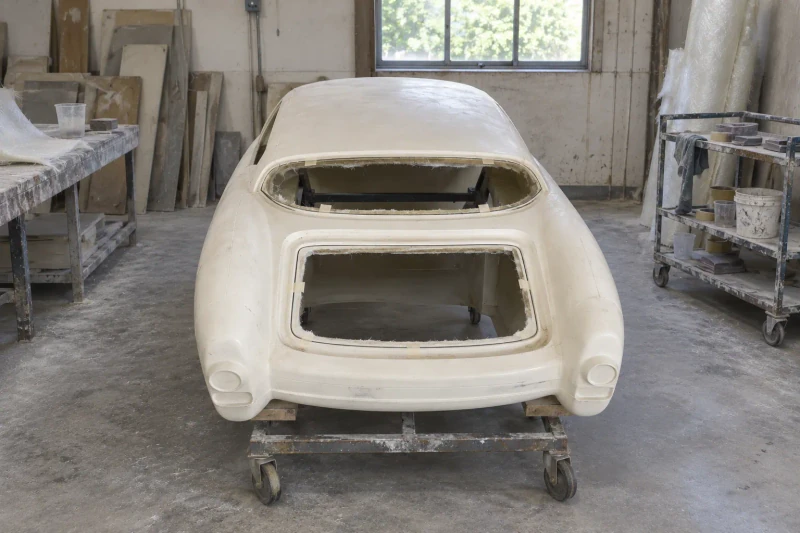
Make a shell for fitting
The first molded body is trimmed for a vehicle fit check. Selected edges can retain extra material for adjustment. Fit-review changes are incorporated into the tooling or trim details before repeat body shells and panels are made.
Review the shell before repeating the parts.
The physical shell connects the exterior design to the chassis review. Door, glazing and wheel-arch decisions can be agreed on the first parts and carried forward into the molds and repeat supply.
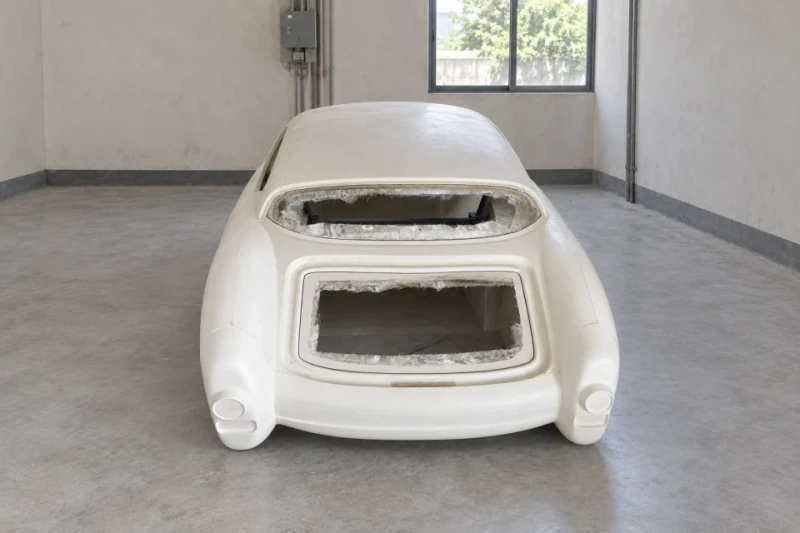
A physical body for fit review
The first shell brings styling and chassis interfaces together.
Openings developed with adjoining parts
Door, glazing and wheel positions follow the same vehicle layout.
Agreed changes carried forward
The reviewed shell provides a reference for tooling and repeat parts.
Set the coupe body fit before the final surface treatment.
Fiberglass body and opening-panel sets prepared for fit review with your chosen lamps, glazing, hinges and latches before final finishing.
Opening panels, lamps and glazing are reviewed in the same assembly before surface work continues.
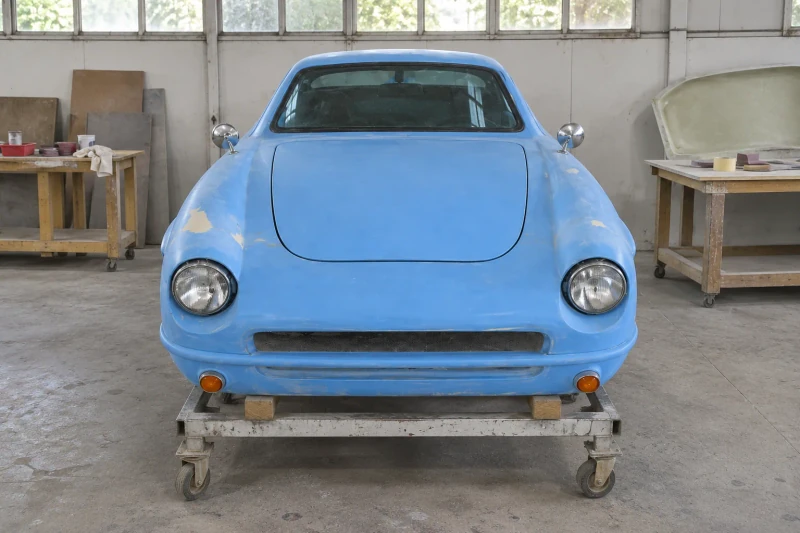
- Part set
- Body and separate panels
- Fit review
- Front and rear fit review
- Work stage
- Preparation before the final surface treatment
A complete shape still needs the neighboring parts.
A coupe body can look complete while still needing adjustments around its hood, trunk, lights and glazing. First assembly brings those neighboring parts together so your team can review their gaps, movement and fitting access before the final surface finish.
Opening panels with real hardware
Hood and trunk edges must work with the selected hinges, latches and seals.
Lamps and glass meeting the shell
The openings need the right boundary as well as room behind the visible face.
Fit changes before final surface work
Local corrections are easier to define while the body and its adjoining parts can be reviewed together.
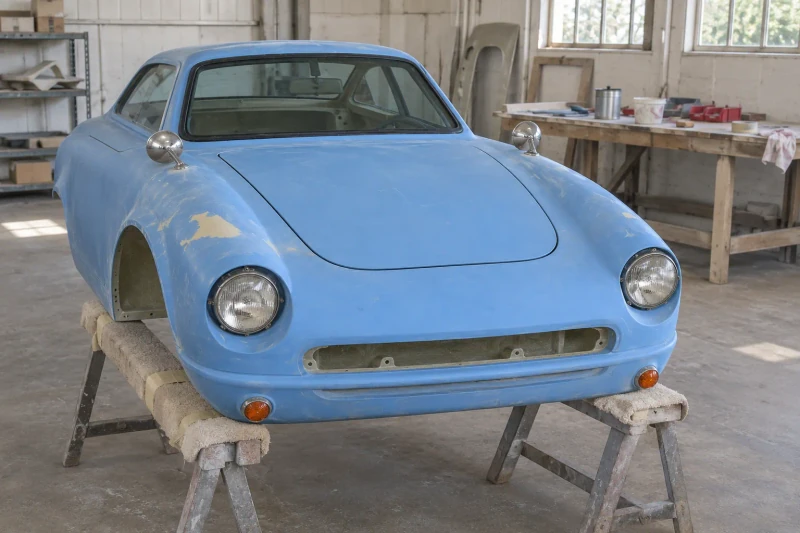
How we customize the parts.
Hood and trunk boundaries
Hood and trunk gaps are set around your hinges, latches and seals, leaving each panel room to open and close.
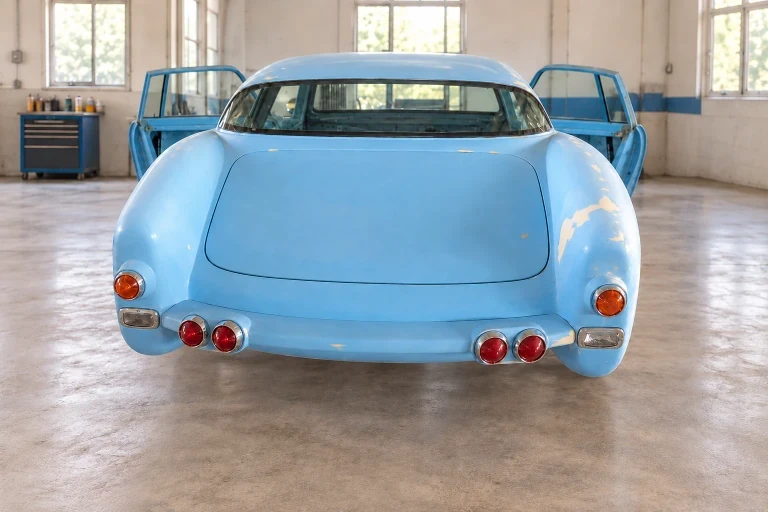
Lamp and glazing openings
Lamp and glass openings are cut to the actual parts, with depth behind the lamps for wiring and access to their mounting points.
Fit changes before surface work
Local corrections are agreed once the parts have been assembled and reviewed. Later panels and surface preparation then follow one confirmed reference for trim, gaps and finish.
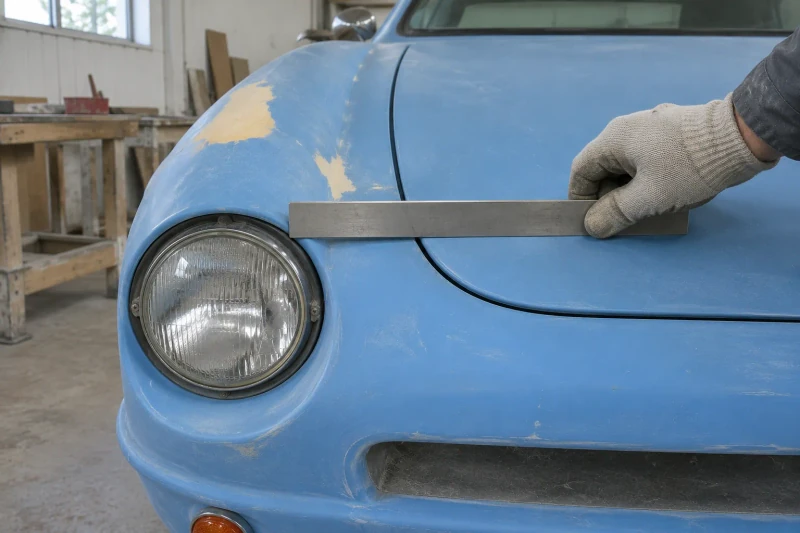
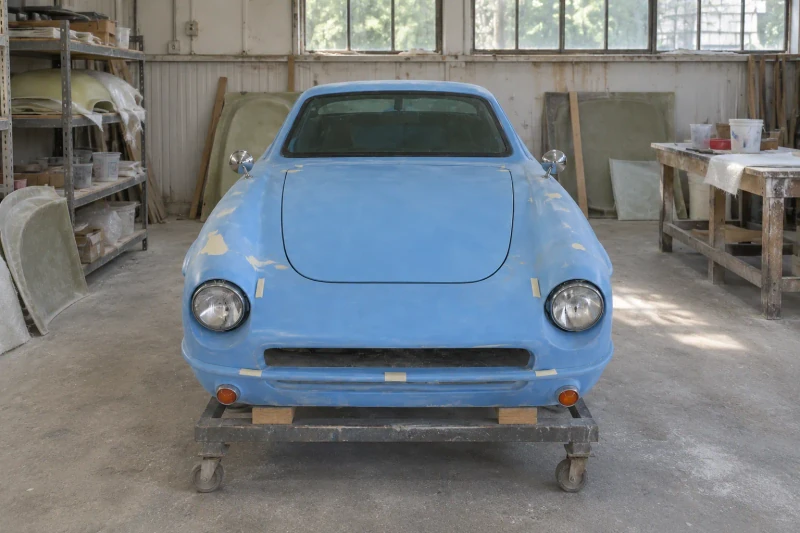
Prepare and review the body parts
We trim the molded parts and prepare the specified fixing areas. Your team then fits the hood, trunk lid, lamps and glazing on the vehicle. We record the agreed adjustments and surface corrections. They guide further body preparation, repeat panels and the finish stage.
One fit reference for the next stage.
The assembled body becomes the reference for panel gaps, openings and local corrections. The next surface stage can follow those fit decisions while the adjoining parts are still available for review.
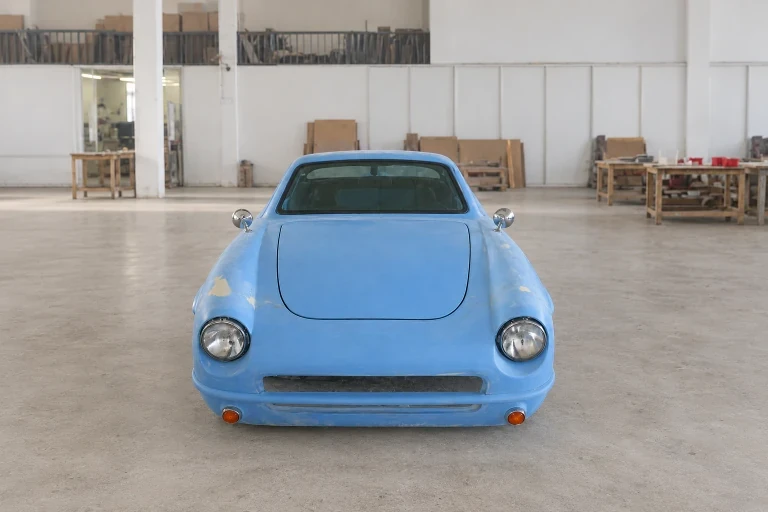
Adjoining parts reviewed together
Opening panels, lamps and glazing share the same body fit review.
Corrections before surface work
Local trim and gap decisions guide the next preparation stage.
One assembly reference
Agreed boundaries and mounting details carry forward to later panels.
Dimensions and design options
- Product family
- Custom FRP Electric Vehicle Body Shells
- Production basis
- Approved drawing or sample
- Supply scope
- Body shell and separate exterior panels
- Geometry
- OEM drawing or approved master
- Interfaces
- Chassis mounts, openings and trim lines to your drawing
Choose your EV body format
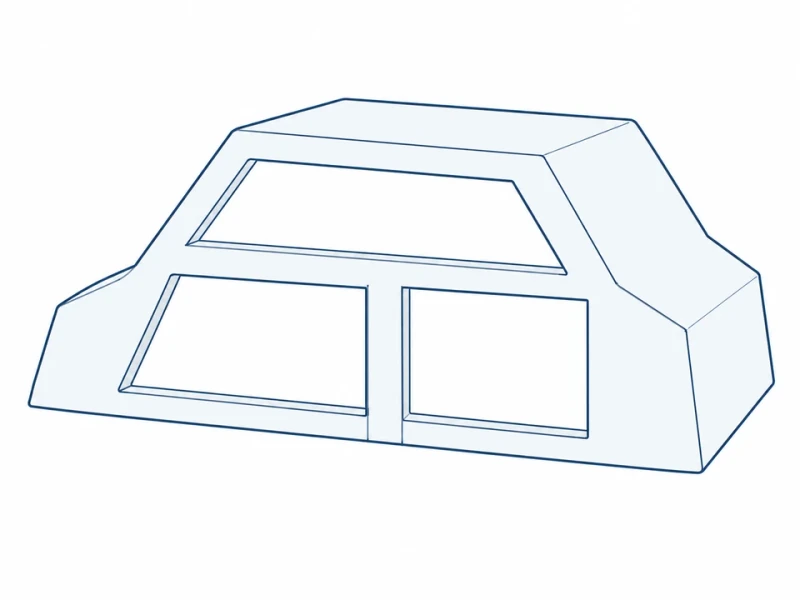
Integrated upper shell
Roof, pillars and side returns form a connected upper shell with openings for doors and glazing.
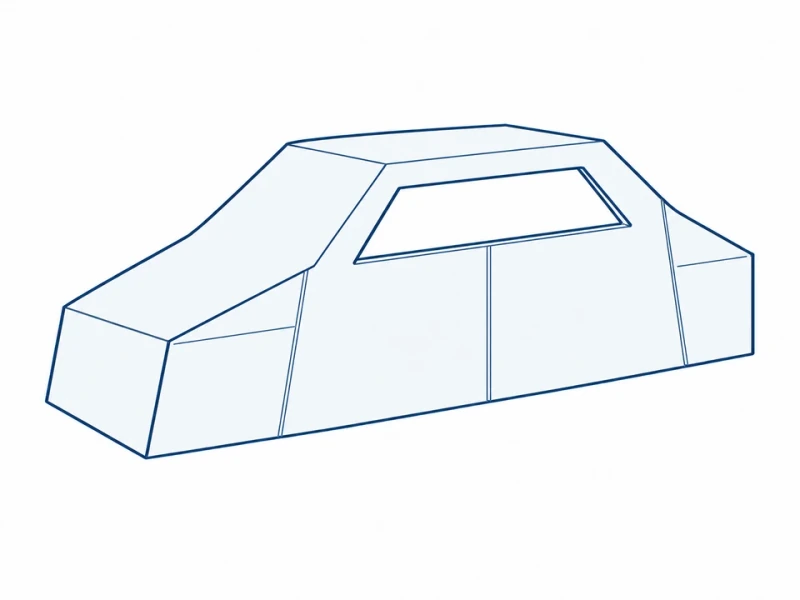
Separate exterior panels
Separate exterior pieces allow individual removal, with matching joint lines and turned-back panel edges.
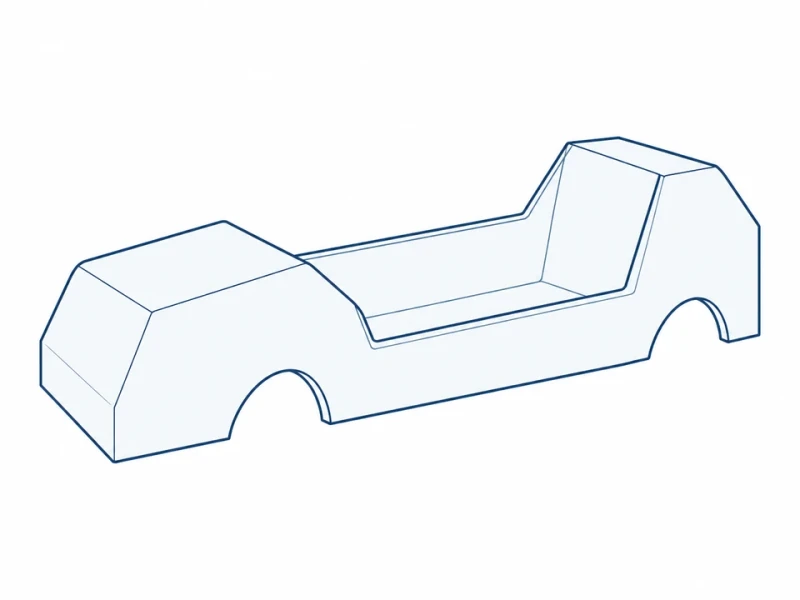
Open mobility body
A low-sided shell fits an open specialty vehicle around its seating and step-in access.
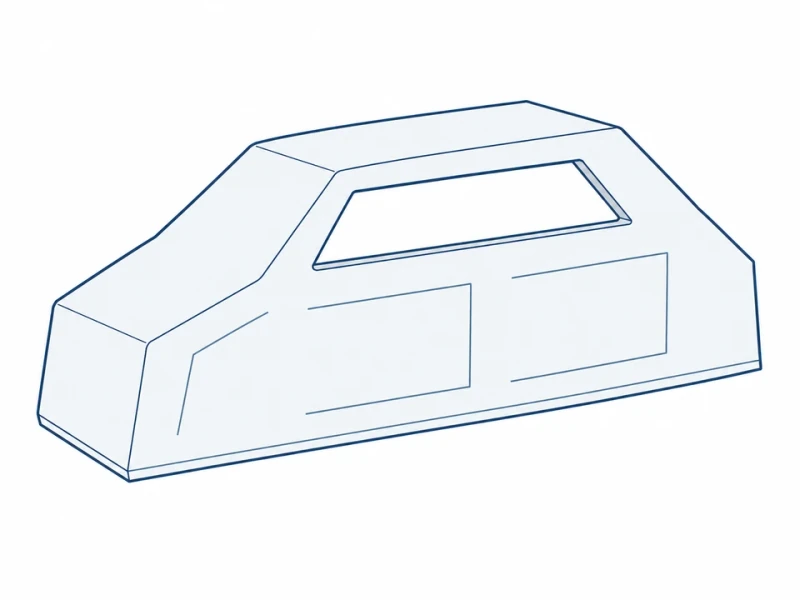
Prototype trim allowance
Selected openings and edges retain extra material for trimming during your prototype vehicle fitting.
EV body envelope and chassis layout
Body size and door opening
Body length, roof height and door opening width are set around your chassis and cabin.
Wheel arches and lower body contacts
Wheel arches, glazing openings and lower mounting areas are shaped around the chassis under the shell.