A textured wall that comes together panel by panel.
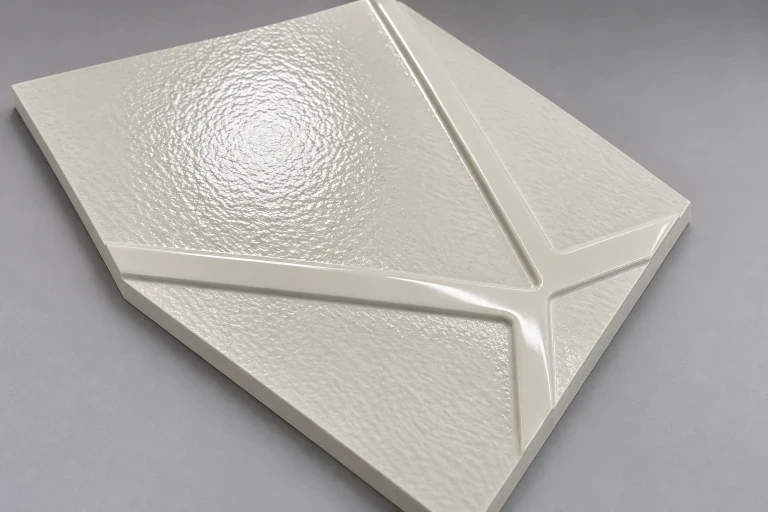
Custom fiberglass wall panels combine a molded texture and recessed linework, with panel sizes and edges prepared for your wall layout.
The molded pattern follows the whole elevation, including adjoining edges and changes of direction.
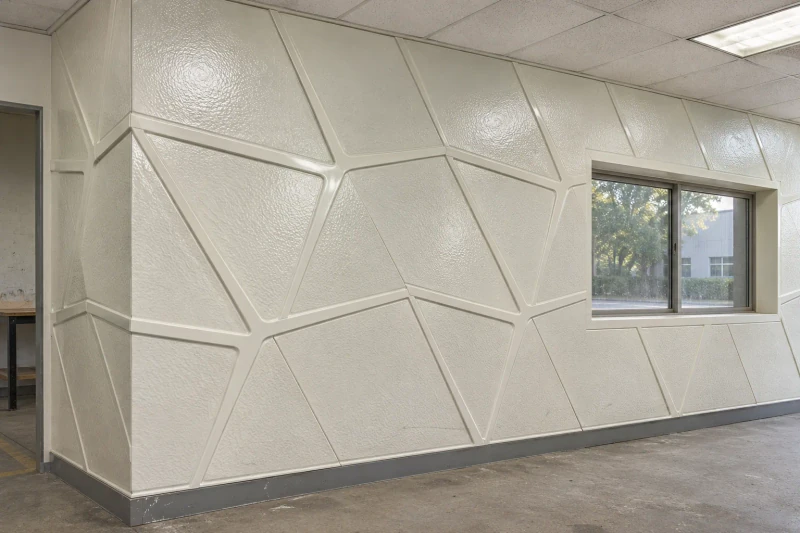
- Texture
- Pebbled ceramic-look face
- Pattern
- Smooth recessed lines to your artwork
- Panel sizing
- Sized to your wall elevation
Keep the pattern continuous across the wall.
A textured feature wall needs more than an attractive individual panel. Recessed lines, panel joints and changes of direction have to make sense across the whole elevation, including the corners and openings.
A pattern crossing panel joints
Decorative lines need to continue across neighboring pieces without losing the intended wall pattern.
Corners and openings in the elevation
The visible design must accommodate real wall boundaries, returns and interruptions.
A molded face meeting a wall assembly
Backing and fixing details need to fit behind the texture while retaining the agreed joint appearance.
How we customize the parts.
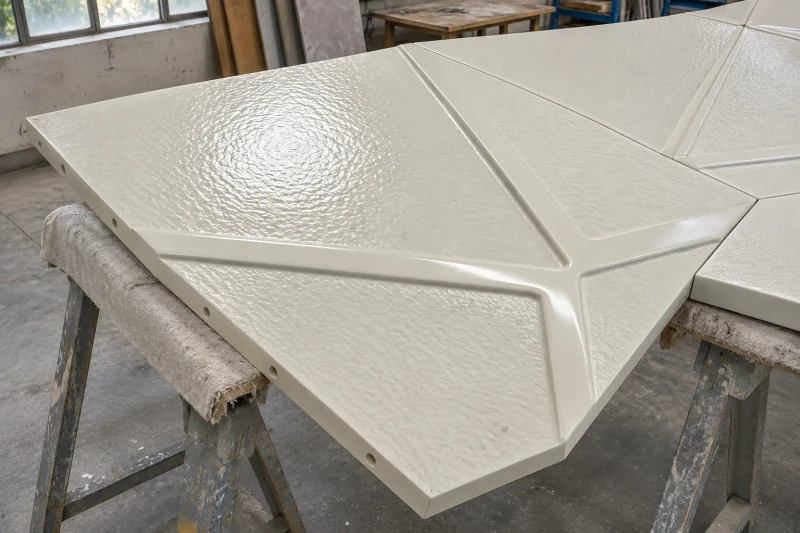
Texture with molded linework
Pebbled fields and smooth recessed lines can be formed in one face. Pattern depth, line direction and junctions follow the approved design.
Panels that meet the elevation
Panel sizes, corners and cutouts follow the wall drawing. The pattern is arranged across neighboring pieces rather than treated as an isolated tile.
Edges for the chosen wall assembly
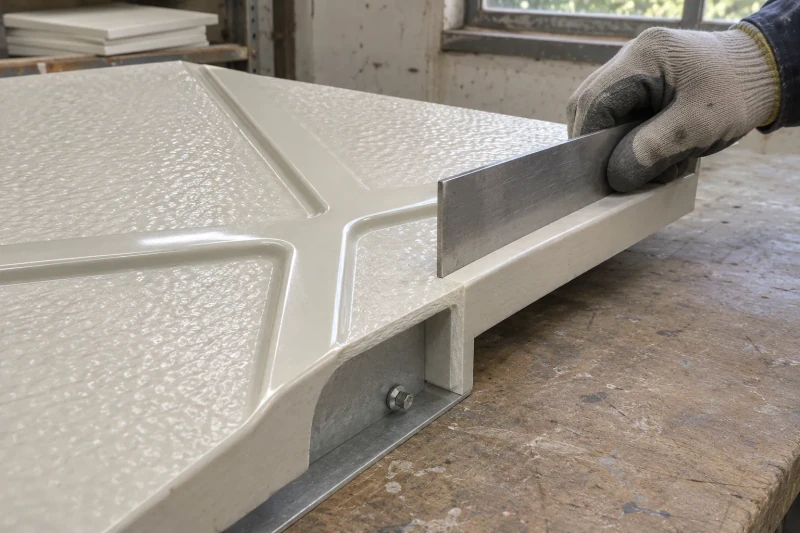
Panel returns and backing details follow your substrate and fixing arrangement. These details are agreed alongside the visible joints before production begins.
Develop the face and make the panels
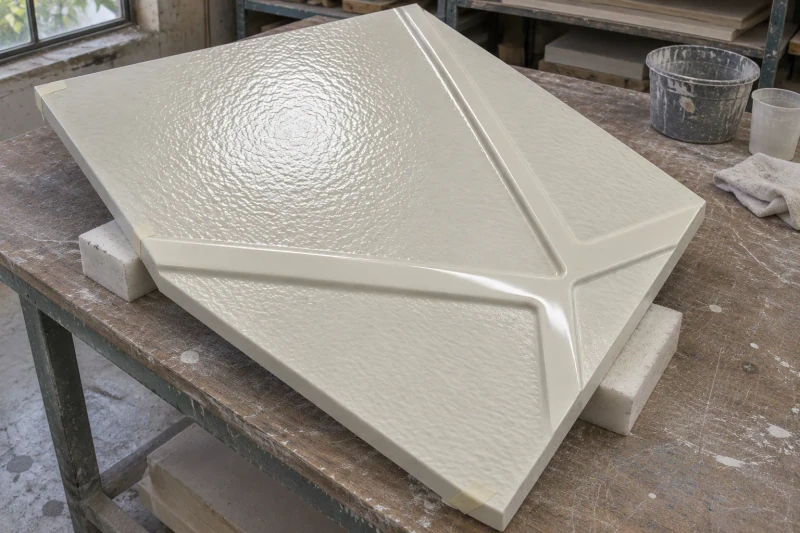
The tooling brings together the texture and recessed lines. After sample approval, we mold the scheduled pieces and prepare their outlines and edges. We check the finish and panel details against the agreed references, then label the pieces to the wall schedule and protect their decorative faces.
One pattern. A coordinated panel set.
Adjoining panels follow the same elevation and finish reference. Installers have a planned sequence for the pattern, corners and openings rather than making those decisions from individual panels.
The pattern already arranged
Adjoining pieces follow the elevation instead of individual pattern decisions on site.
Prepared panel boundaries
Corners, returns and cutouts relate to the same wall drawing.
One agreed color and texture reference
The approved sample guides texture, color and visible joint appearance.
Dimensions and design options
Pattern and panel options
Pebbled fields and smooth branching lines are molded in one fiberglass face. We develop the pattern together with the panel schedule, so it continues across joints, turns corners and meets openings as planned.
Single panel with a three-way pattern
A smooth three-way junction divides the textured face into separate fields. Line widths, rounded transitions and surface profile are approved on a molded sample before the panel tooling is released.
Pattern matched across neighboring panels
Lines can continue across two neighboring panels while the installation joint between them stays a real gap. We set the pattern alignment and the panel gap together, then mark each piece to the wall elevation.
Molded corner return
A shaped corner piece carries the surface onto the adjoining wall. The return angle, pattern continuation and edges are set from both elevations and checked on a corner sample.
Panel shaped around an opening
A cutout can fit around a recess or opening while the surrounding pattern stays intact. Trim, line endings and exposed-edge finish are located from the wall drawing so the pattern ends cleanly at the opening.
Panel dimensions and pattern layout
We start from the wall elevation and panel boundaries, then position the linework within each panel. Base thickness and molded profile depth are specified separately, so the finished pieces match the wall schedule.
- W / H · finished panel size
- Finished panel sizes, corners, openings and edge returns are located on the elevation. Installation gaps are shown separately from panel width and height.
- T · base panel thickness
- T is the thickness of the base panel. Molded profile depth, any backing and local edge build-up are added separately.
- Pattern position and profile
- Junctions and line ends are located from the panel edges. Line width, raised or recessed profiles and the texture reference define the sample pattern.
- Direction and panel identification
- Pattern alignment covers direction, neighboring panel numbers, corner transitions and any openings where the pattern continues or stops.
Decorative lines and installation joints
A molded line does not necessarily mark a panel joint. Pattern alignment, the actual installation gap and the concealed fixing detail are planned separately.
- A · real panel joint
- The installation gap and edge treatment come from the wall assembly. We agree how the pattern crosses the joint and whether the project needs a separate closure or seal.
- B · molded decorative junction
- This smooth transition is molded within one panel face and reviewed on the approved sample. It is not a break between panels.
- C · substrate and fixing interface
- Panel returns and local support areas follow your substrate, backing and fixing drawing. Supports, fixings and installation are agreed separately from the molded panel supply.
Color and texture samples and panel protection
- Texture and smooth linework
- A molded sample shows the pebbled fields, the smooth junctions and the transition between them in the selected finish.
- Color and gloss reference
- Color and gloss are confirmed under the project lighting and next to adjacent materials. The approved reference is kept for checking the production panels.
- Layout checks and face protection
- Each panel is checked for edge preparation, identity and pattern direction against the elevation. Pieces are then labeled and packed with face protection for the textured and smooth areas.