Security Check Booths
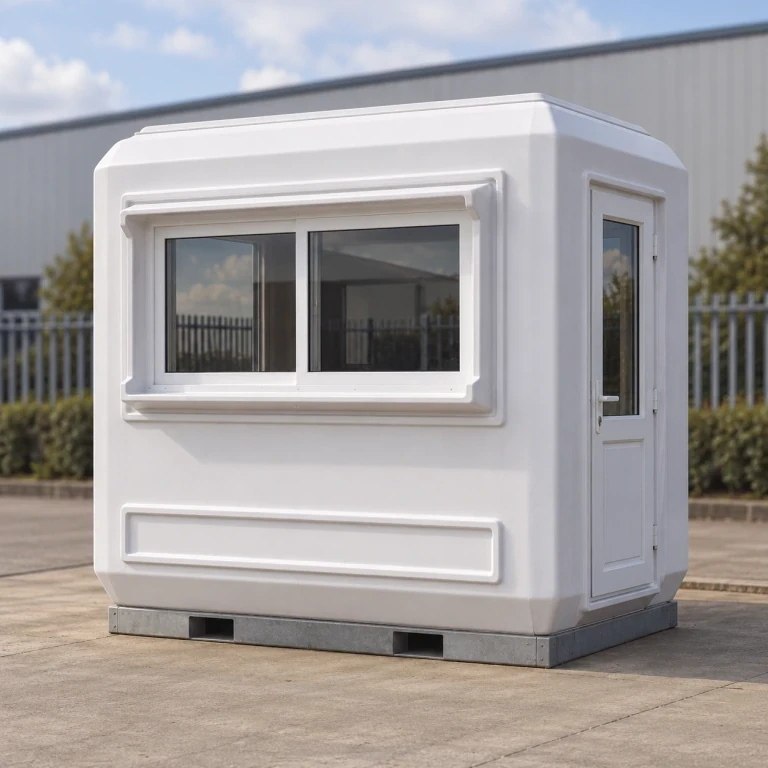
A fiberglass checkpoint booth gives entrance staff a sheltered view of the approaching lane. We can arrange observation windows, a document counter and the staff door around the entrance layout, with mounting areas for separately supplied barrier controls.
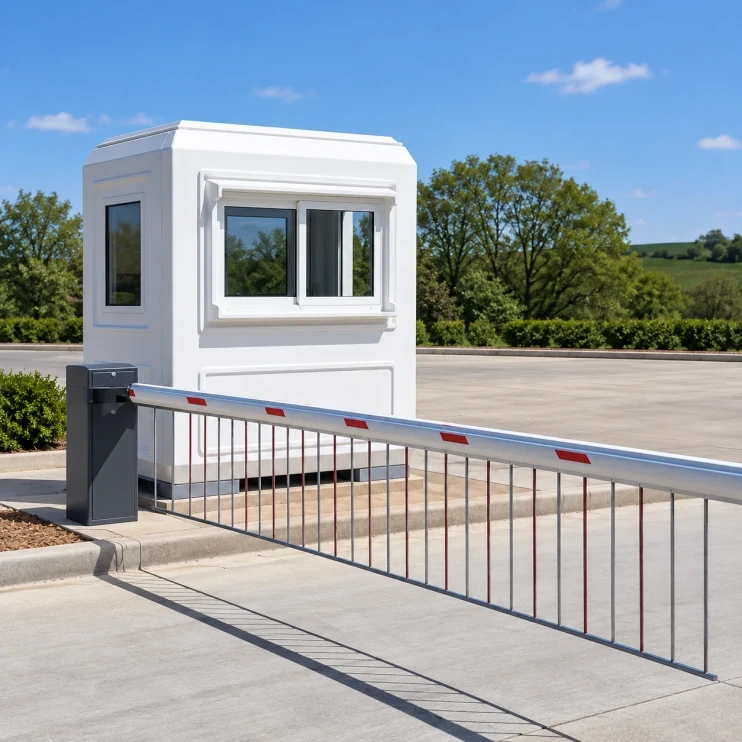
Observation enclosure coordinated with separate rising-barrier equipment and a clear entrance approach.
Image credit: ·
Checkpoint booth layouts
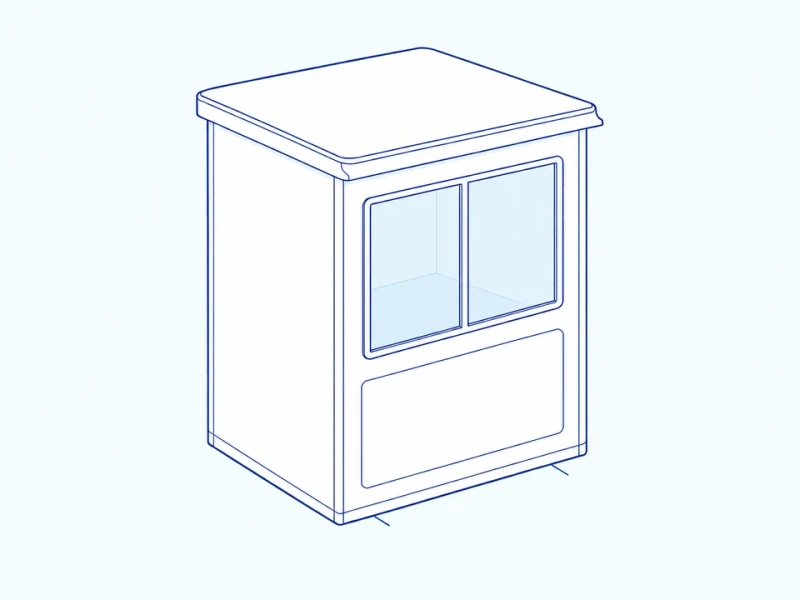
Lane observation window
Fixed or opening panes face the approaching lane beside an information panel area, with a molded rain lip above.
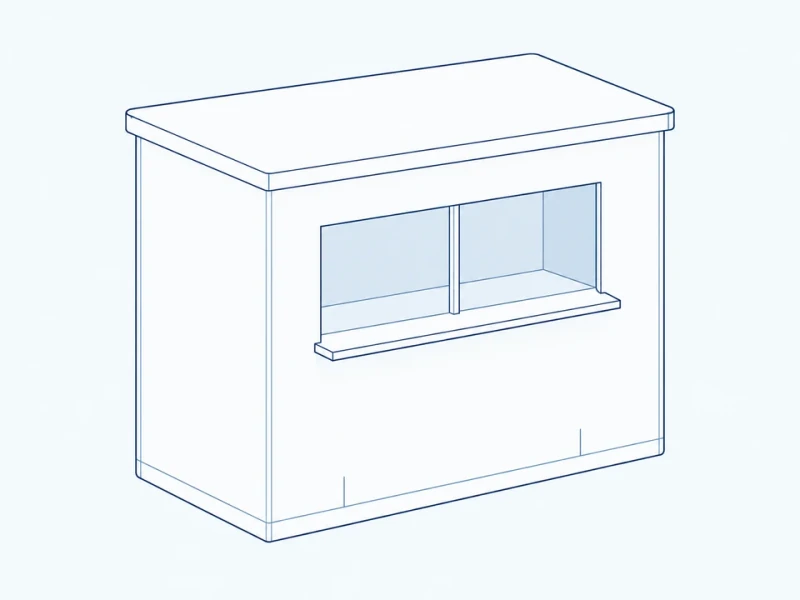
Pedestrian document handover
A credential counter or document opening faces pedestrians, so staff can check documents without opening the door.
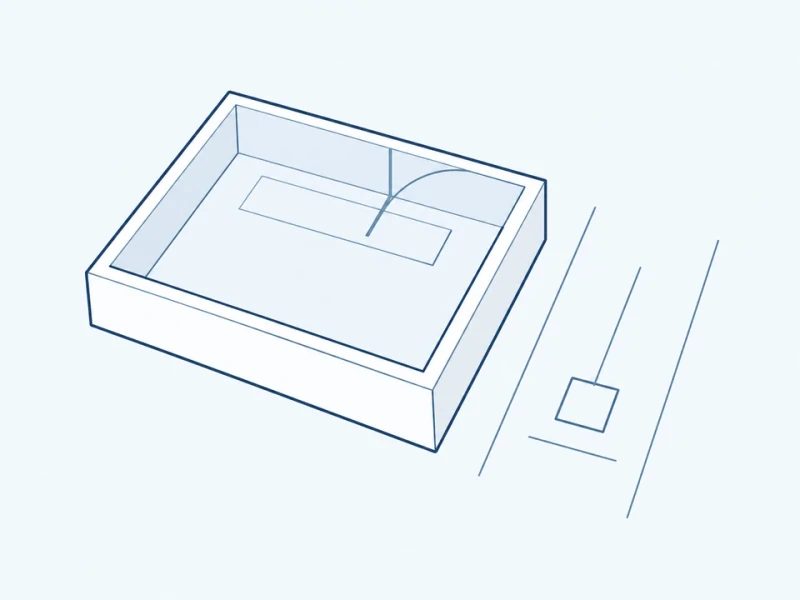
Barrier and staff-access plan
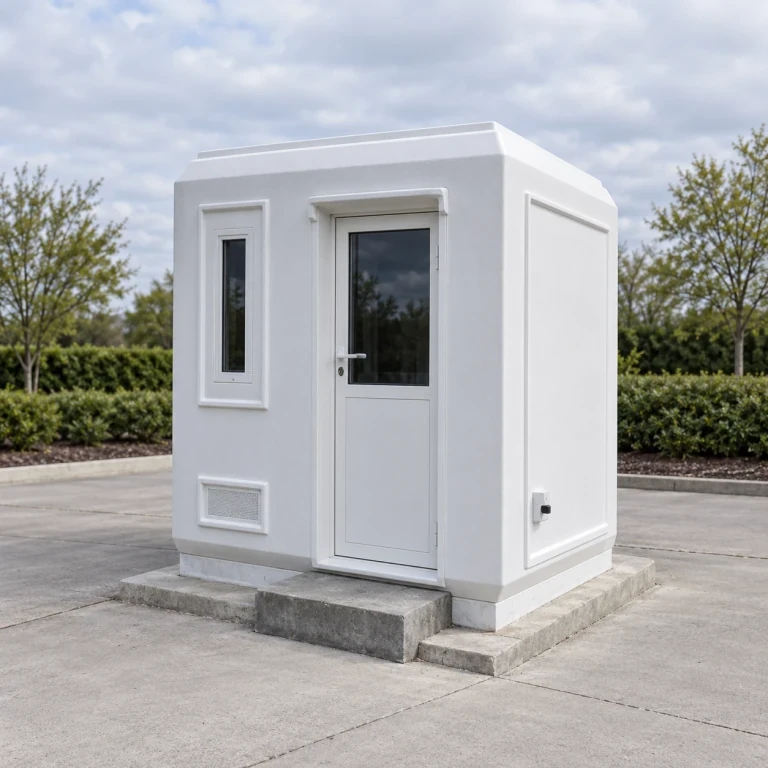
The staff entrance is placed on the pedestrian side, with the door swing coordinated with the barrier’s movement.
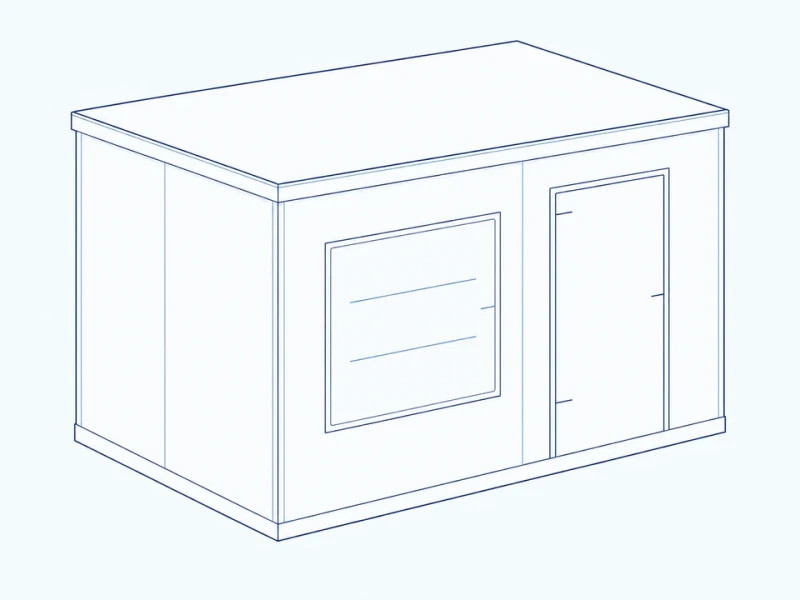
Rear equipment wall
A rear wall carries controller and radio mounts and cable entries next to the staff workspace.
Checkpoint booth manufacturing
Shell and base construction
Molded walls, counter supports and base fixing areas are built to your entrance footprint and controller layout.
Glazing and door fitting
Observation panes, document shelves and staff door frames are set to your sill heights and the pedestrian approach.
Controller wall and exterior
The rear wall can include controller mounts and radio or cable entries. Exterior colors and information-panel areas can match the entrance signage.
Checkpoint view and barrier spacing
Window size and barrier-base position
The elevation marks observation-opening width and sill height above the shell base. C is the offset from the cabin wall to the separate barrier housing; arm travel and door swings are checked in the entrance plan.
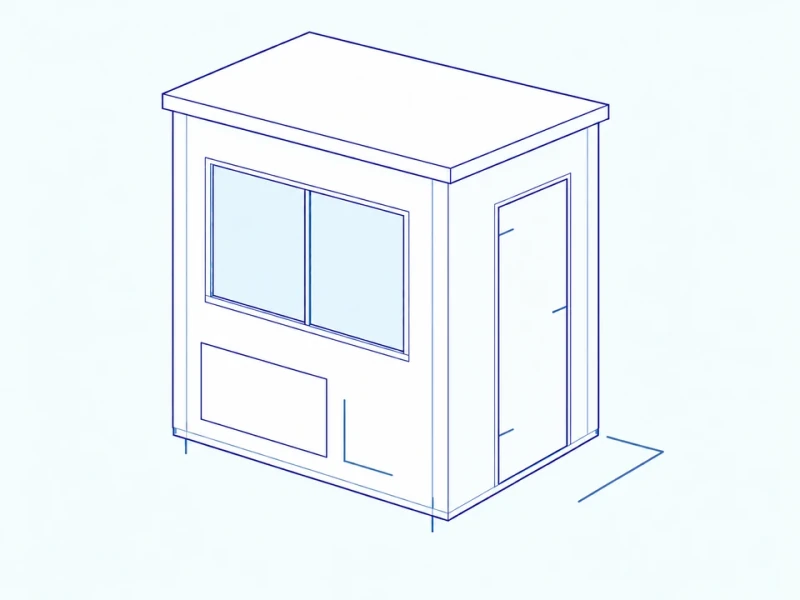
Viewing face and separate staff entry
Front glazing gives staff a clear view of the lane, with a controller panel area below and a side door for staff access.